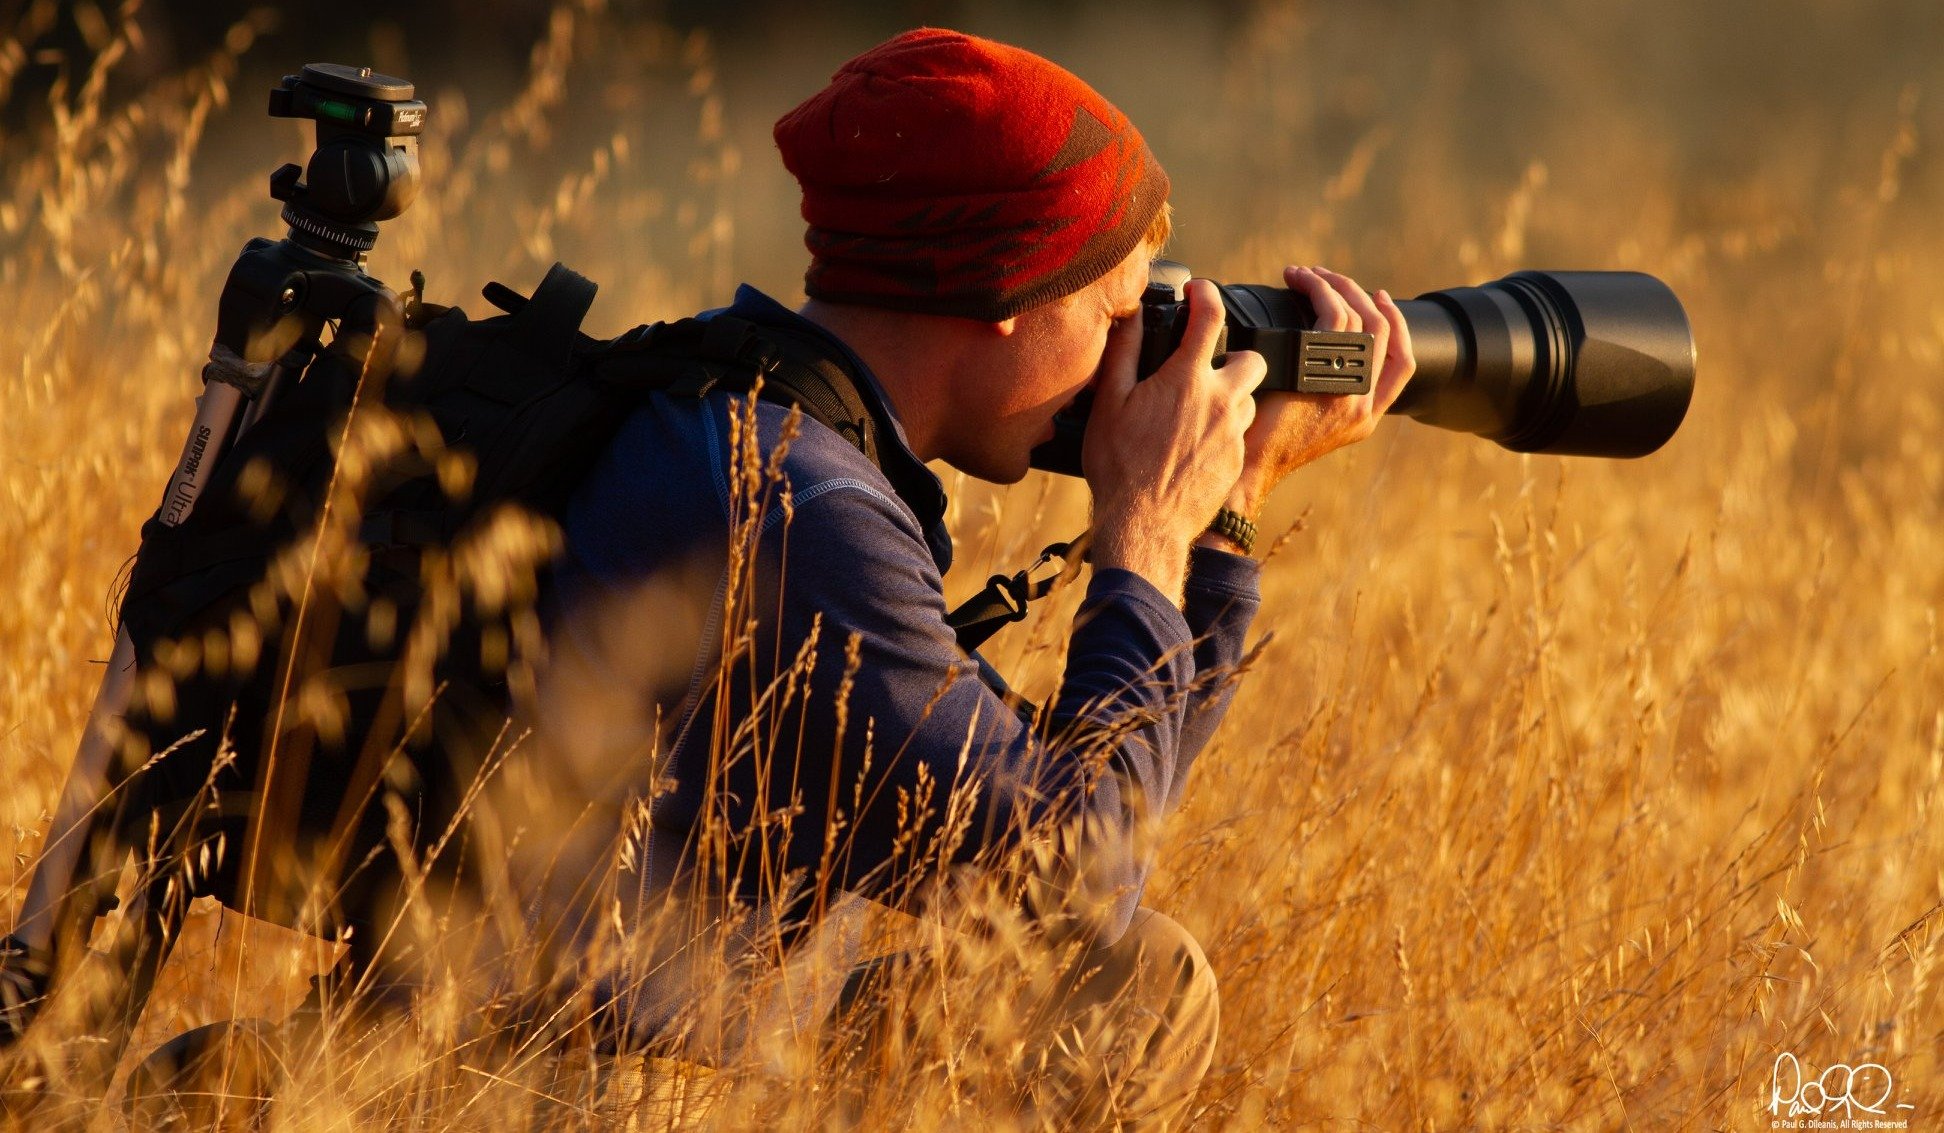
Nature photography is an awesome pastime – it gets you outside, it helps you appreciate and learn about your local environment, and it can even help the conservation movement.
David Mauk, Natural Resource Technician at the Open Space Authority, is an avid photographer, and is behind some of the most breathtaking images used to support the agency's conservation goals. “As a photographer, you can be a painter or a hunter - you can make an abstract piece of art, creating an interpretation of plant and animal life you find in nature, or you can capture a subject as it appears in its natural environment.”
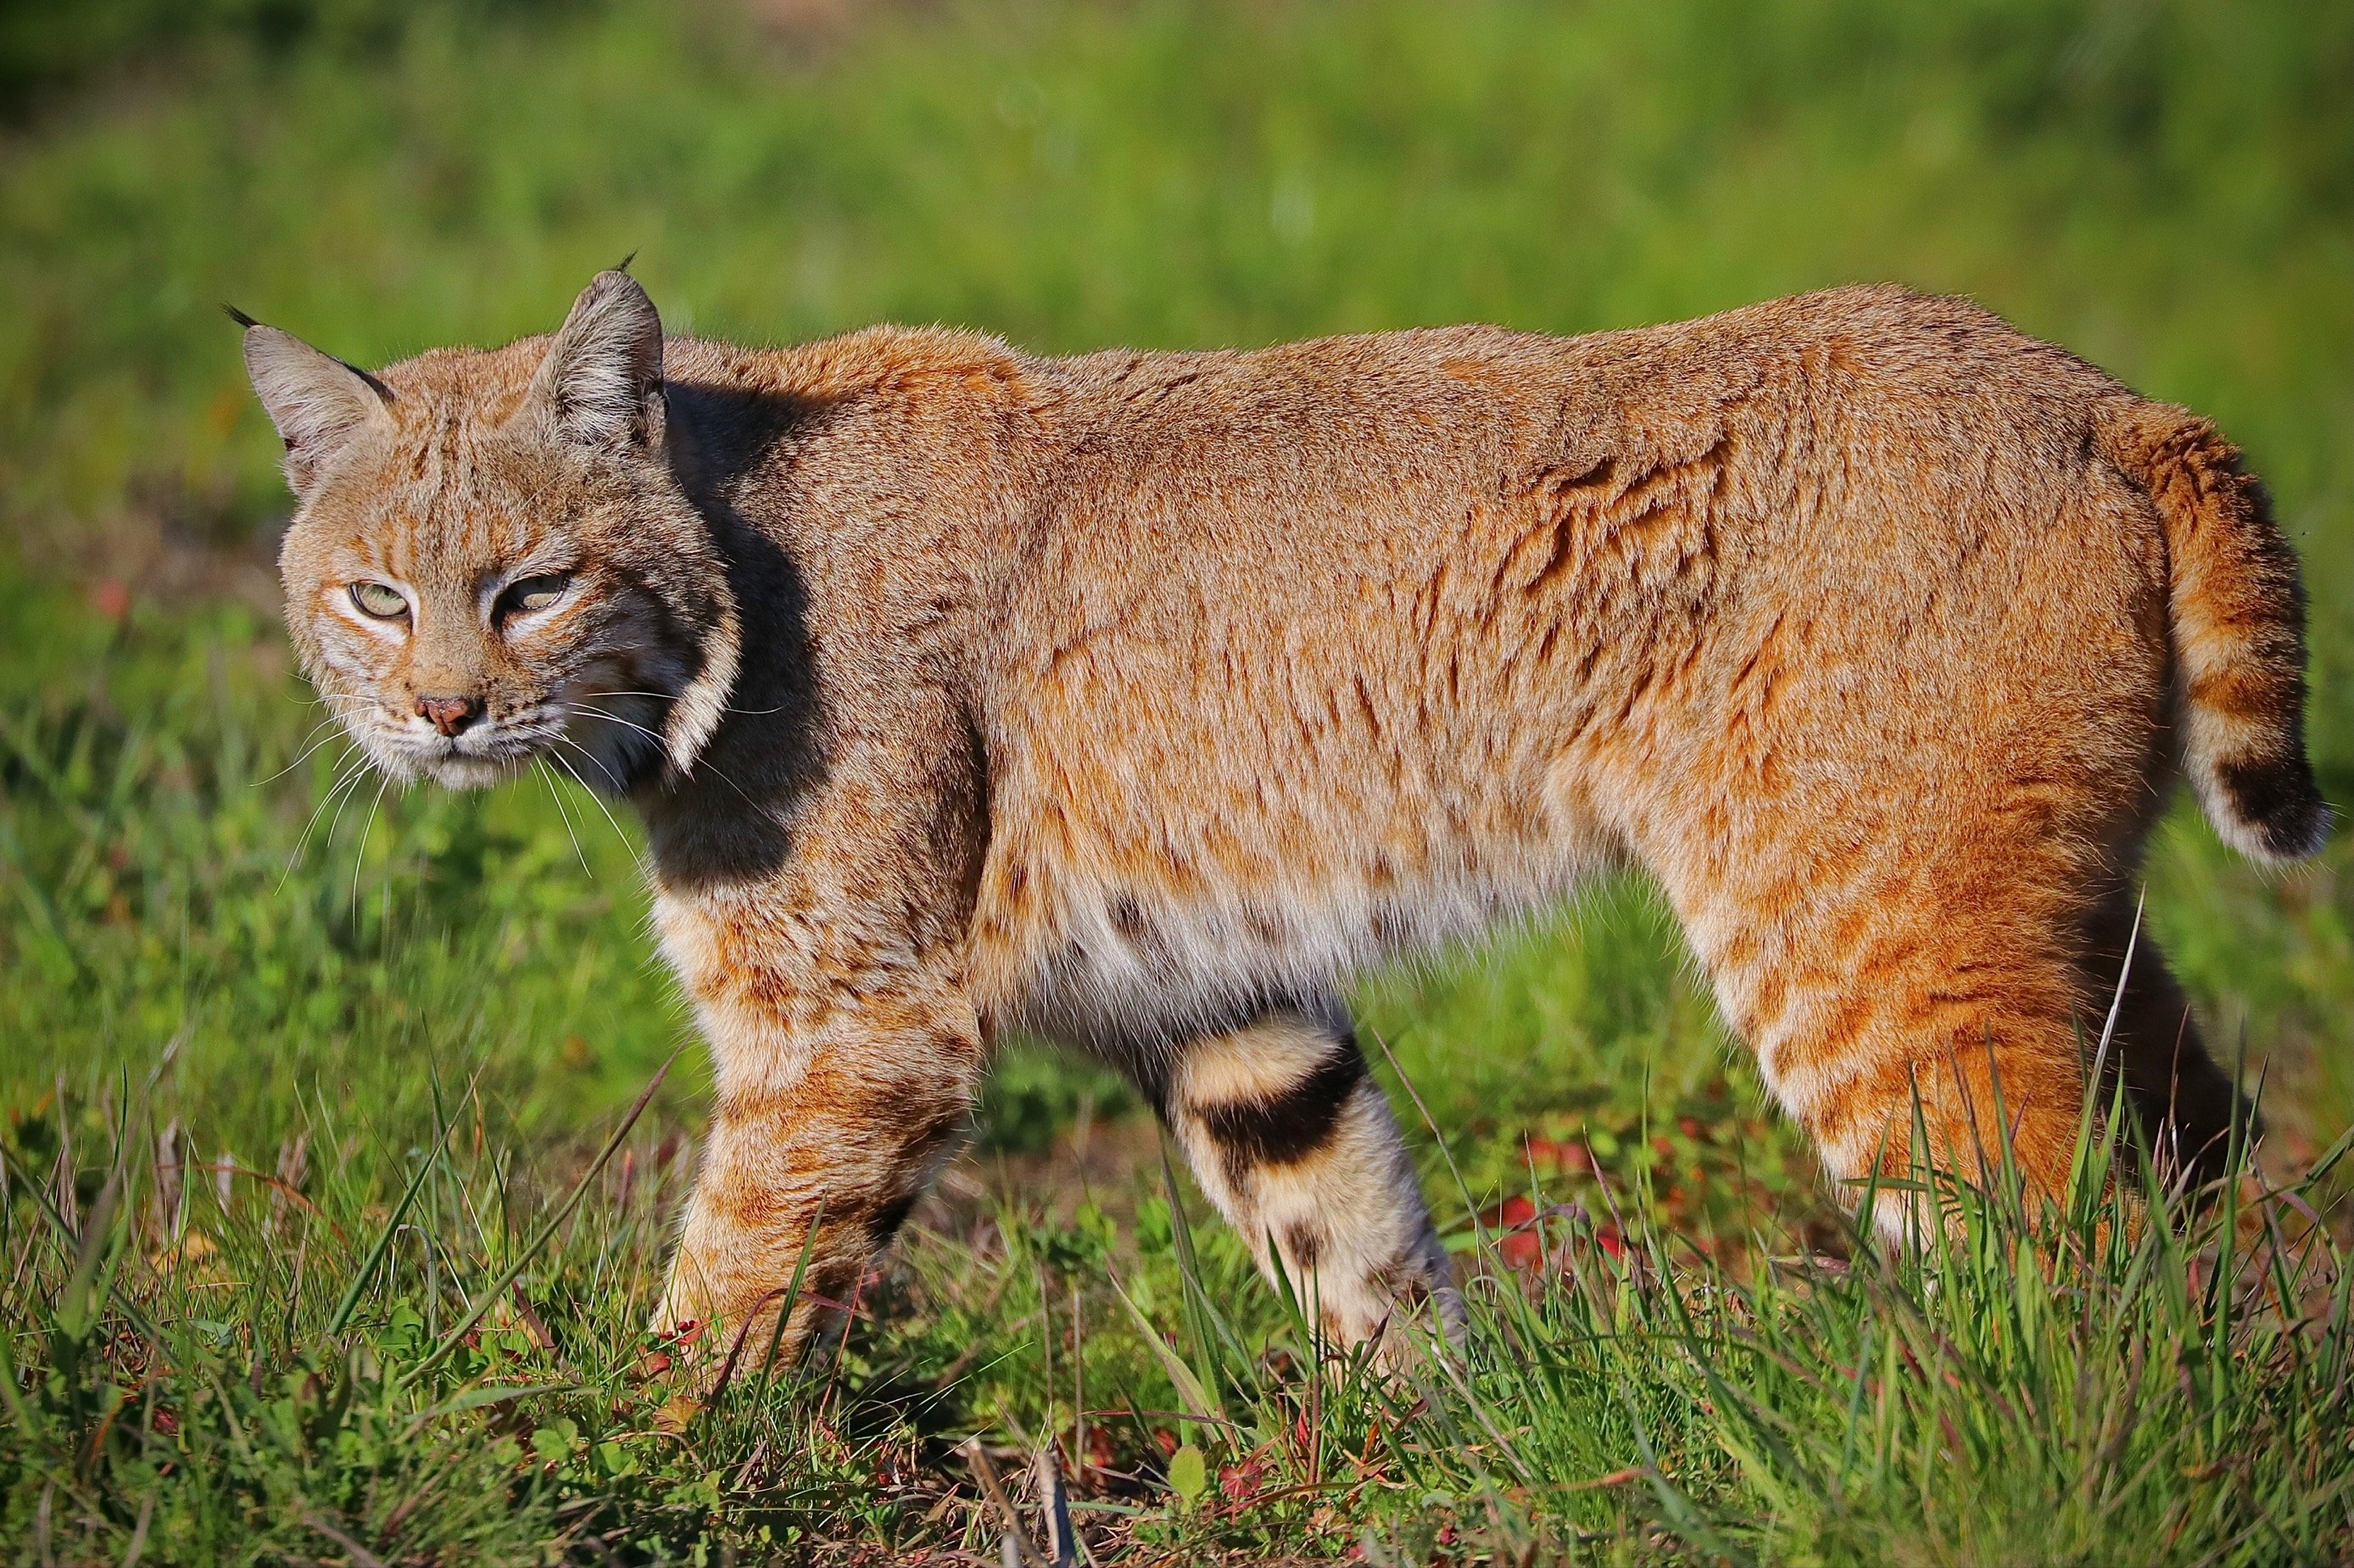
Bobcat, David Mauk
Whichever shoe may fit you best, it can be intimidating going on your first photography excursion, so keep reading for some of David’s tips and tricks for getting out there and finding your inner photographer.
1. The best camera is the one you have with you
You don’t need the fanciest or most expensive camera to take good pictures. Whether you have a smartphone, a DSLR, a point-and-shoot, or anything in between, you can always snap a great photo.
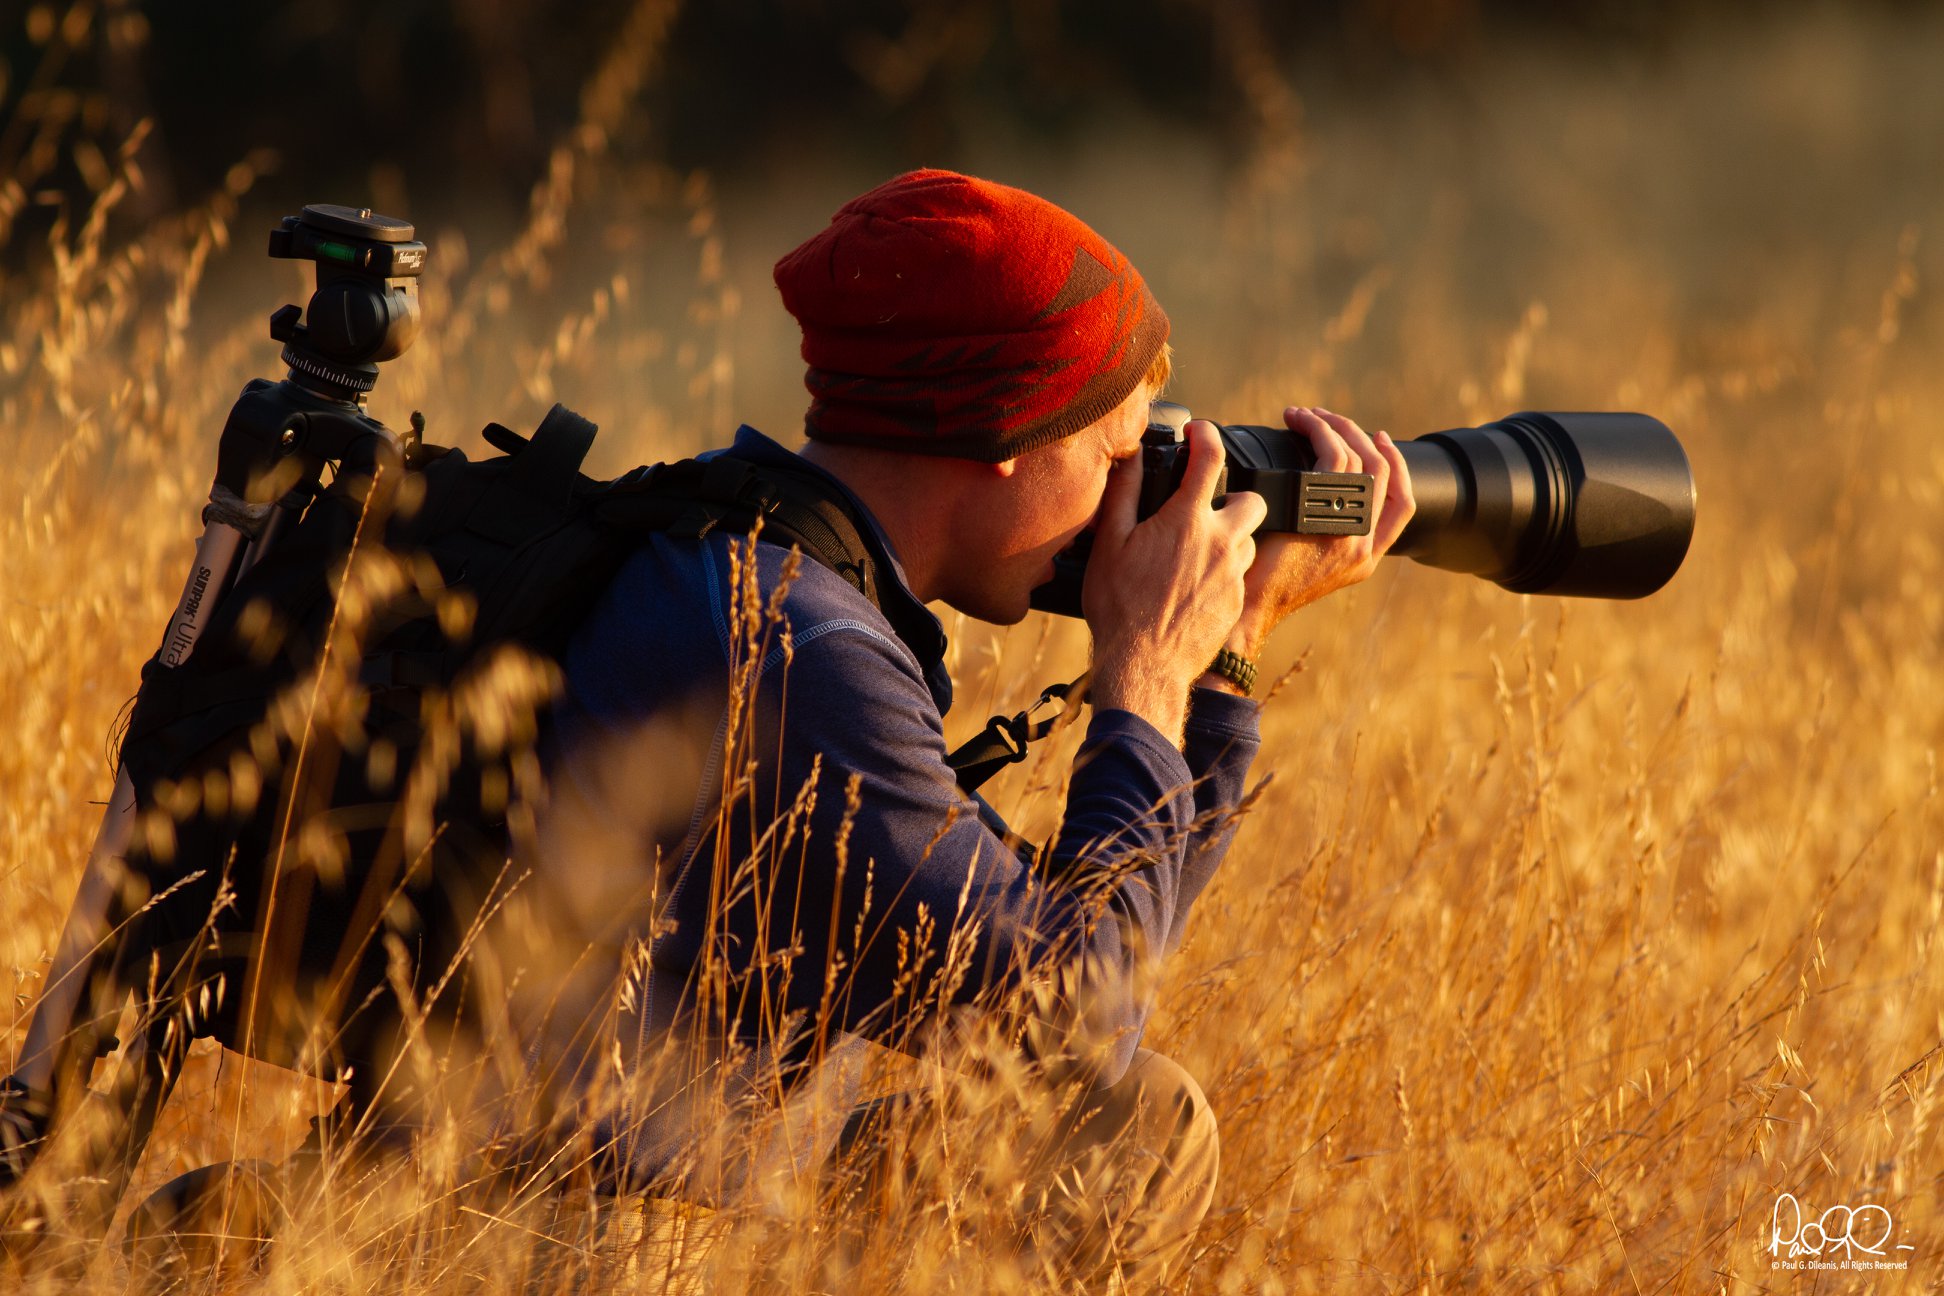
David Mauk, Paul Dileanis
2. Pick a location
“Pick a location and go for it,” Mauk says. It can be hard to take the first step, especially when wildlife photography is new to you. Don’t overthink it, just pick a place and go – there will always be something worth photographing.
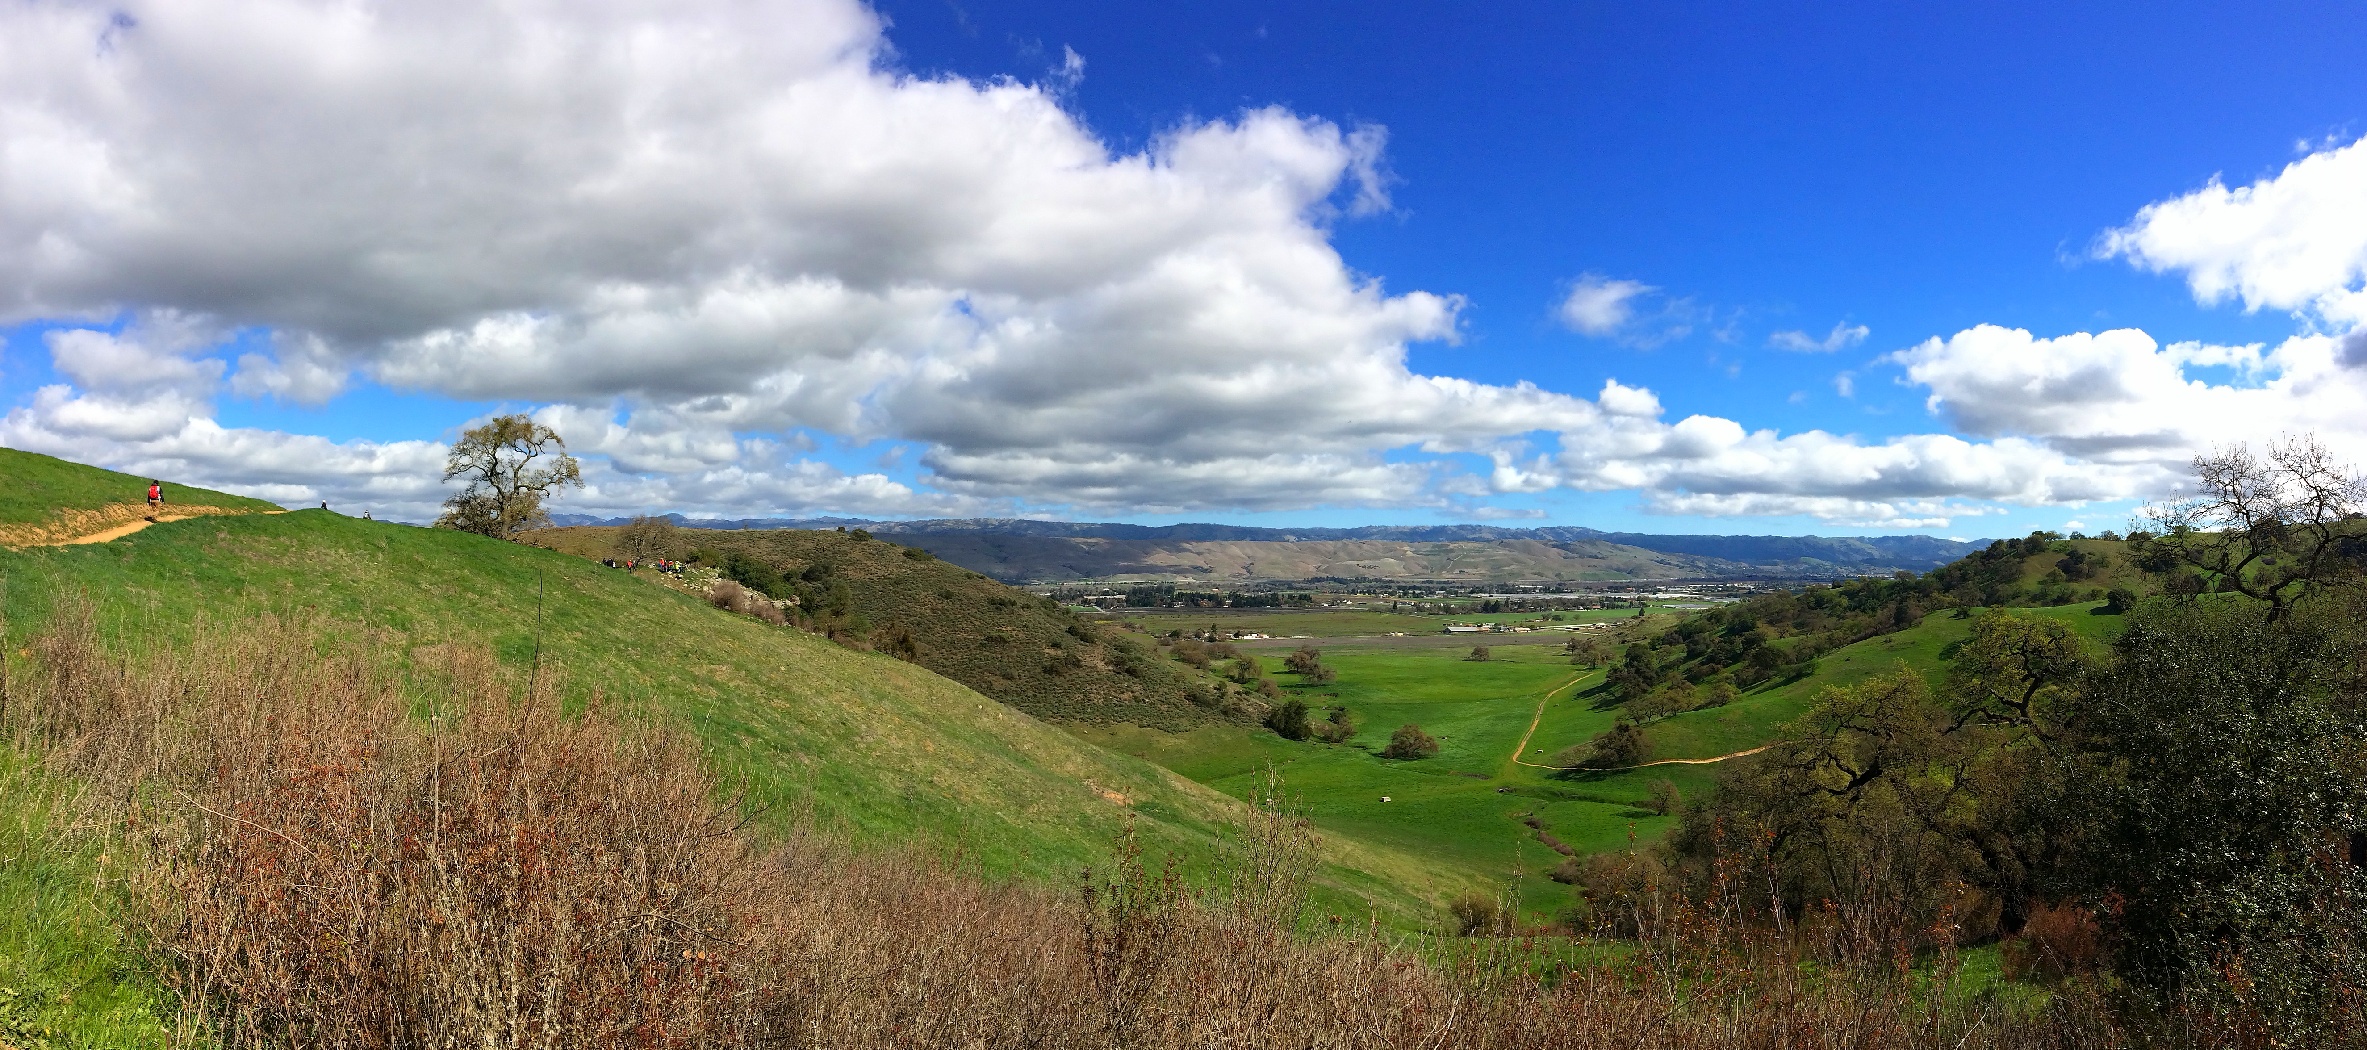
Coyote Valley Open Space Preserve, David Mauk
3. Be unobtrusive
How you approach the subject of your photo is one of the most important parts of wildlife photography. Be discreet – try to use a bush or tree to hide yourself, and never approach wildlife too close. A good rule of thumb? “If the animal is looking right at you in the photo, you’re too close,” Mauk notes.
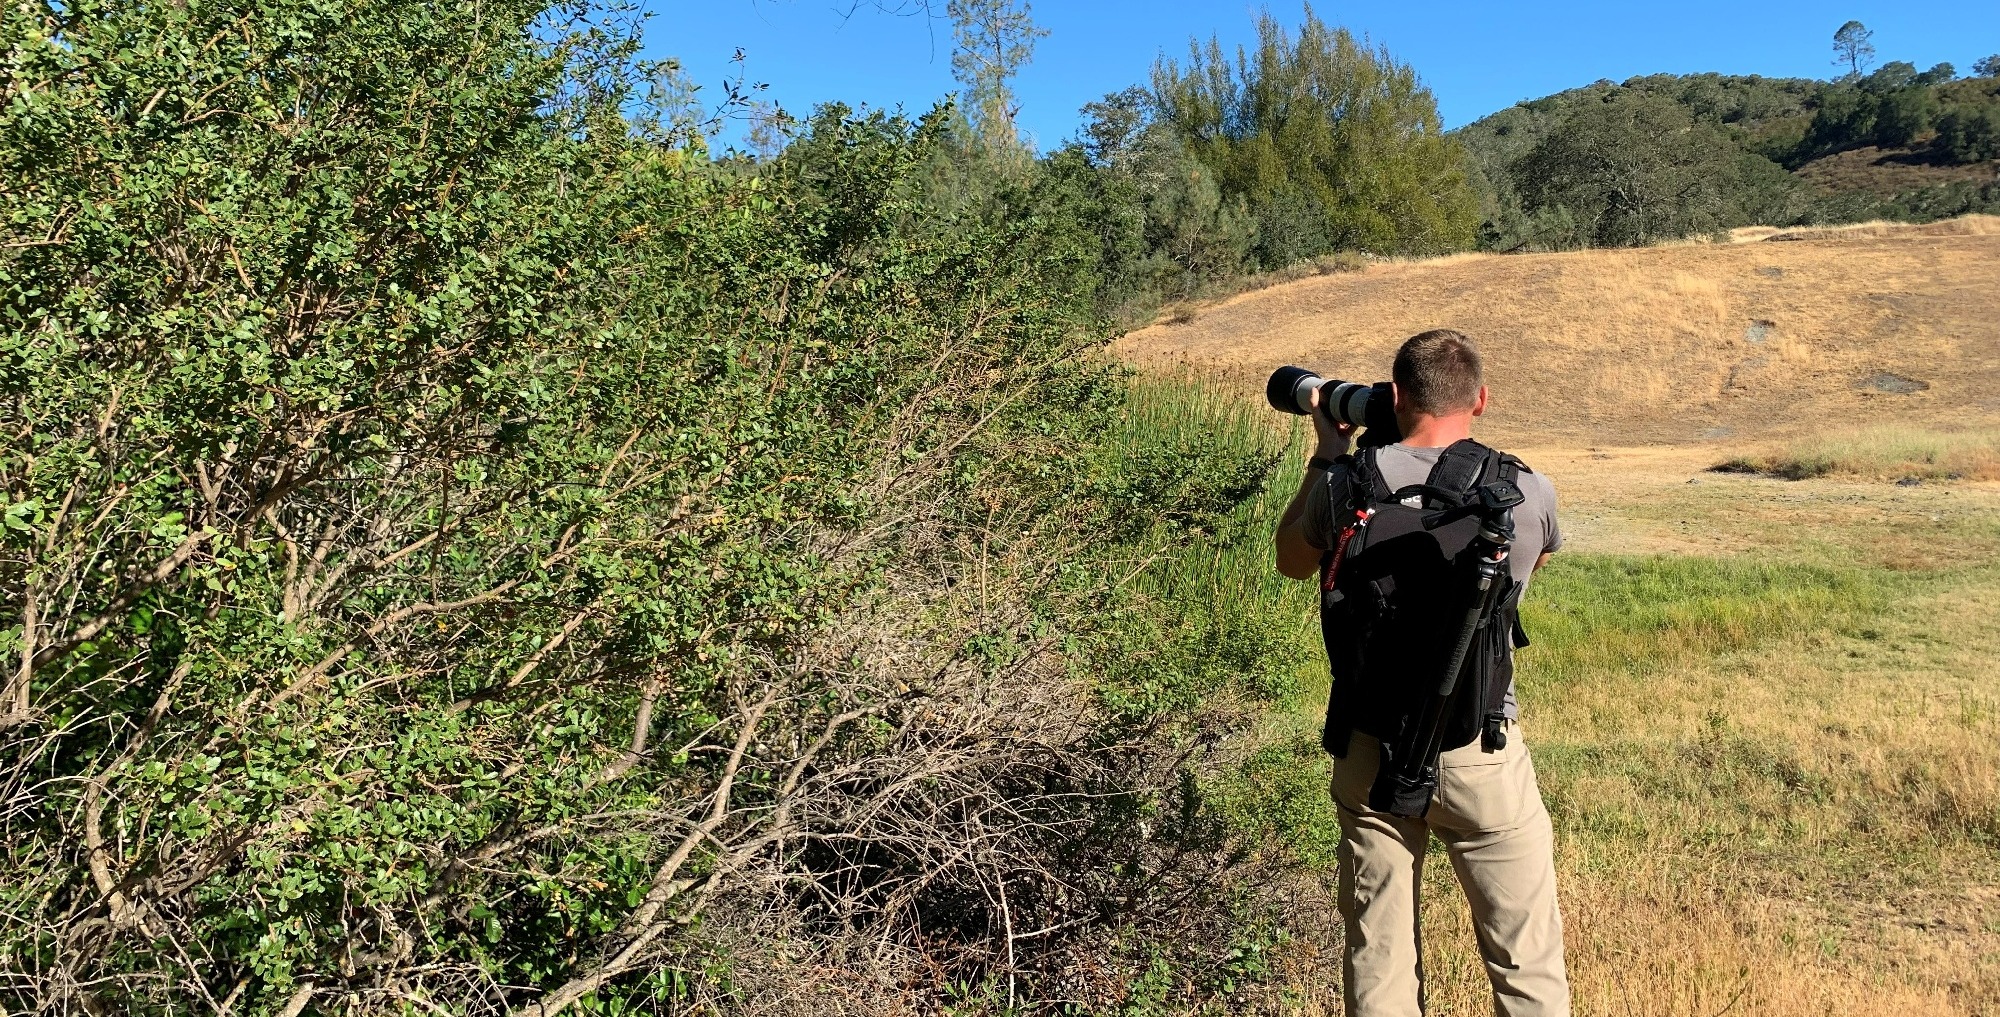
David Mauk at Little Uvas Preserve
4. Be responsible
You’re in the home of these animals, and it’s important to act responsibly and respectfully. Avoid harming the vegetation and do not try to lure any animals toward you – including by using a bird call. “Using birdcalls for wildlife photography is unethical,” Mauk notes. “They will waste their energy trying to respond to or approach your call, and this could impact their ability to fend off predators or find food or shelter.” Let the wildlife do what it will do and be a passive bystander.
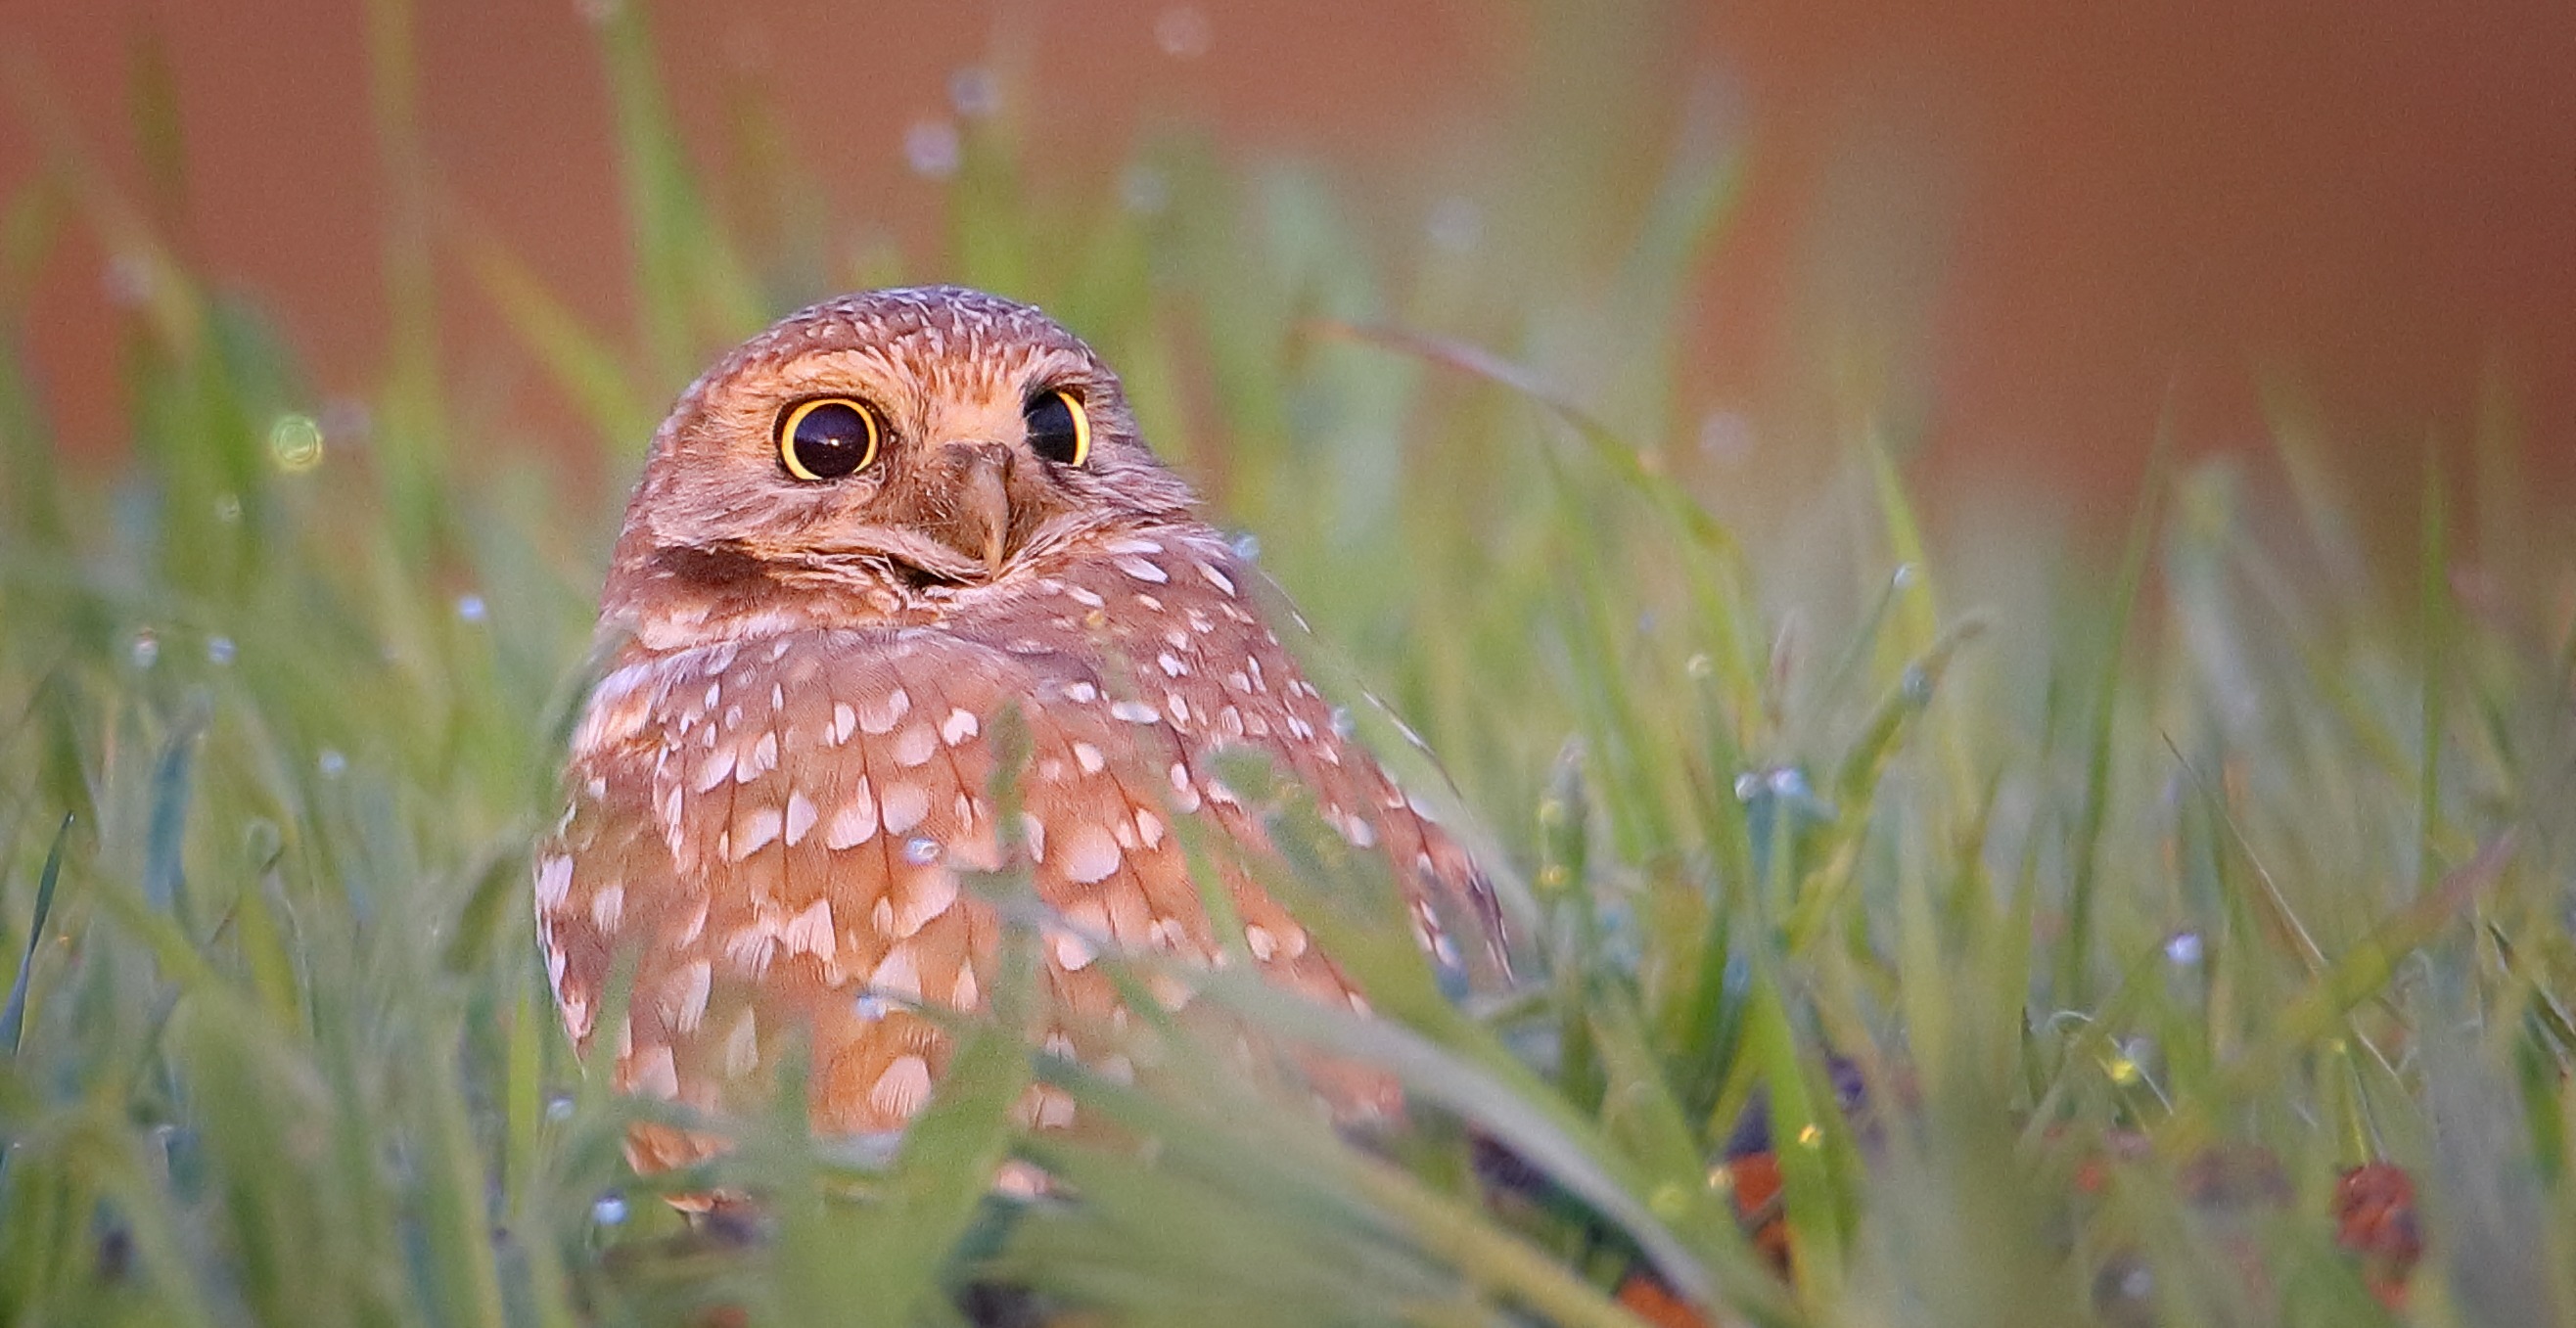
Burrowing owl, David Mauk
5. Buy secondhand gear
Mauk recommends buying camera gear second-hand when first getting started. “You don’t need the newest and most sophisticated photography gear to be successful. Finding some cheaper used lenses is a great way to learn the techniques and get acquainted with photography.”
6. Come prepared
This is not just photography, it's nature photography, so while you’re out taking pictures, you’ll be hiking at the same time. Coming prepared will help you have a successful and safe experience. Make sure you bring a bag that fits food and water, as well as your camera. Check out the Open Space Authority's hiking bag packing list HERE, and read the agency's guide to wildlife preparedness HERE.
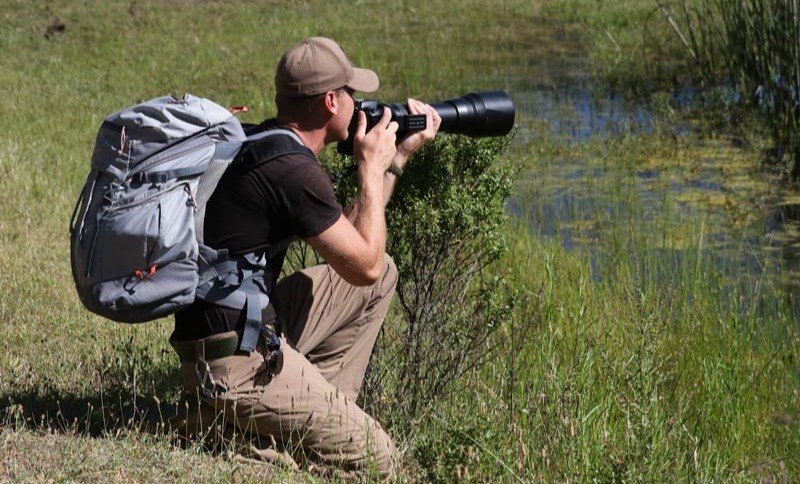
David Mauk at Little Uvas Preserve
Once you are out there, nature photography is about embracing contradiction. Try new things, new techniques, new locations, different composition, and maybe even different equipment! For example:
7. Come prepared...but be spontaneous and don’t overthink it.
Pick a place on a map, grab any lens, pack your bag, and just head out. You do not need to bring all your photography gear (and you probably won’t want to), so be okay with one lens; one camera. It does not need to be the perfect location or all the lenses you think you’ll need. If you have a camera, you are good to go. And once you get to know different locations, or the patterns of wildlife that live there, it's also great to plan what lens works best and what time you want to be there on the next visit for the best scene!
8. Look at the big picture...
Try to find birds far away, maybe even in a flock, flying around in their natural environment. Think at the landscape scale – the trees beneath them, their reflections over a body of water, the sun setting behind them, etc.
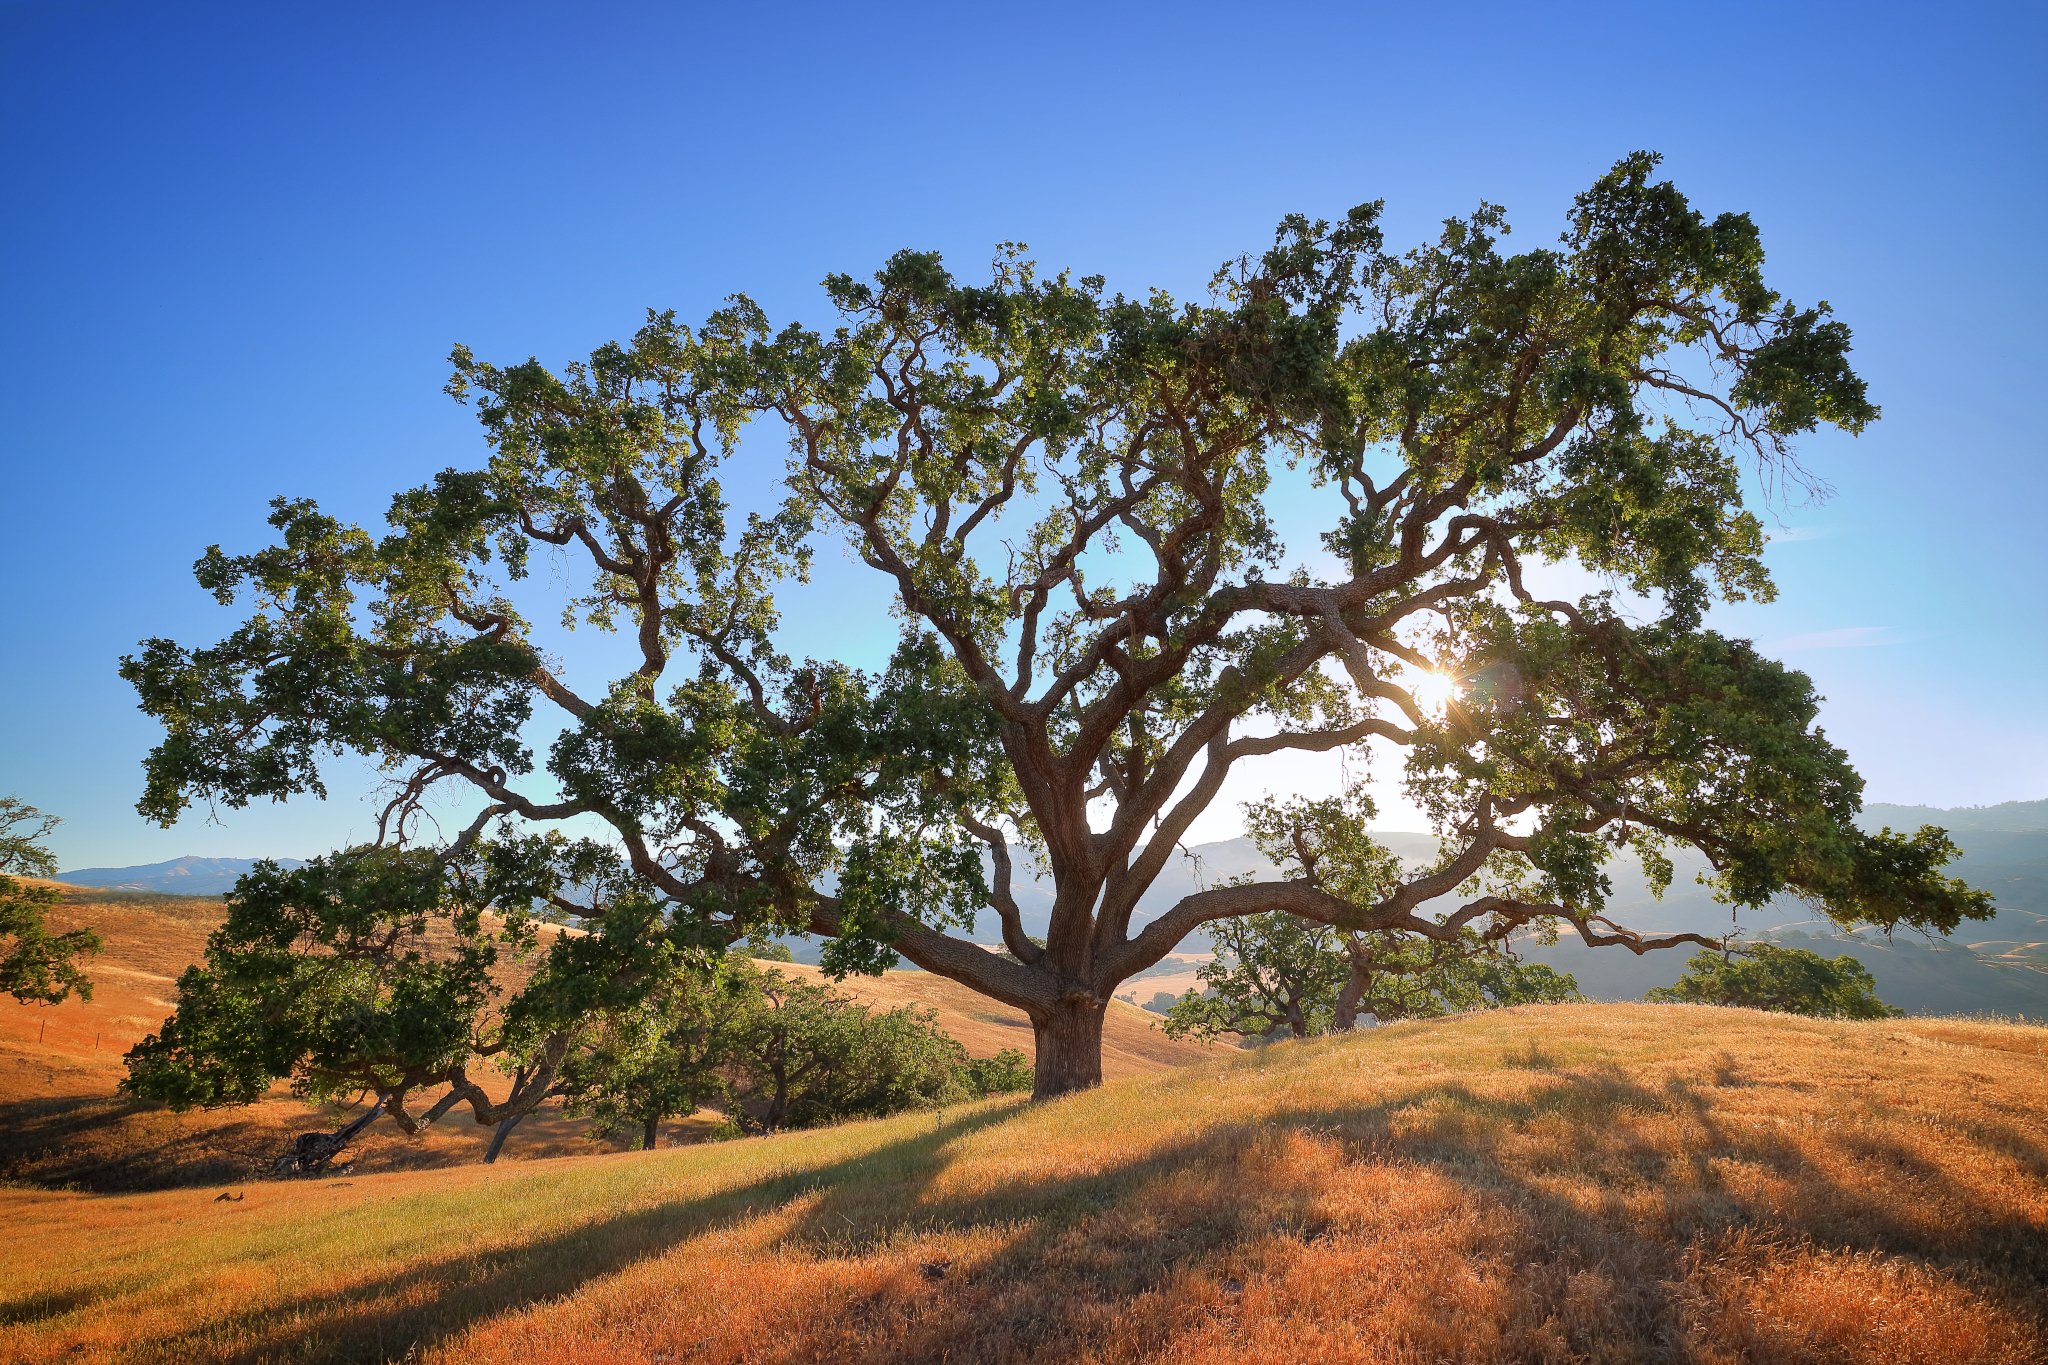
Valley oak tree at Coyote Ridge Open Space Preserve, David Mauk
9. ...but also look at stuff up close.
Focusing on a plant or animal will completely change the photo and the story you’re trying to tell. So zoom in on that same bird, showing the texture of its feathers, or the color of its eyes. “The best way to bring out a single subject is to get loooow and shoot from a low angle, and really throw that background out of the focus compared to the sharp subject!” Capture the details on a flower petal or the ant on its stem. Changing your perspective will create a totally new message, even if of the same subject.
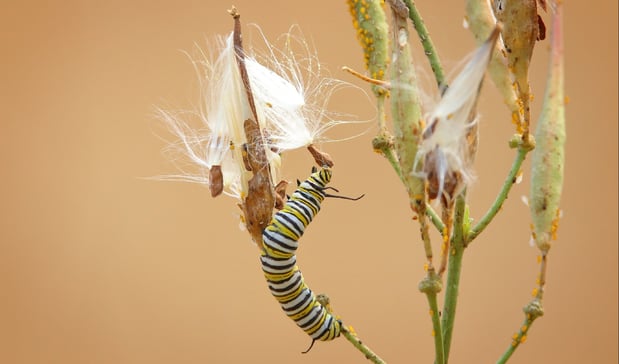
Monarch butterfly caterpillar on milkweed plant, David Mauk
10. Get out there early...
Early mornings are one of the best times to take photos outside. The light is rich -- better for sharp crisp detail -- the temperature is lower, and animal activity is often high.
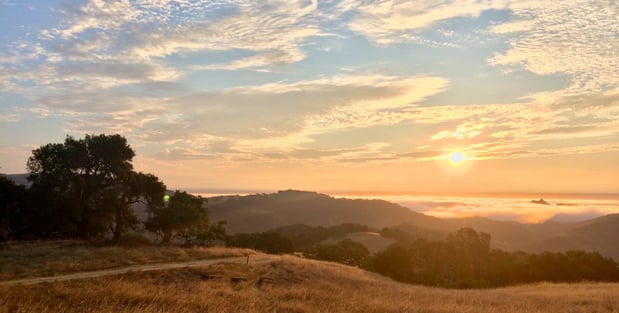
Sunrise at Rancho Canada del Oro Open Space Preserve, David Mauk
11. ...but also stay out late.
Like mornings, evenings offer rich light that will create a beautiful picture. Avoid going out midday when the sun is harshest – it will create distracting shadows and make details harder to see. And remember, if you’re out in the evening, be extra alert, as some crepuscular animals are likely to become active. And if out at a preserve, do not stay later than during open hours.
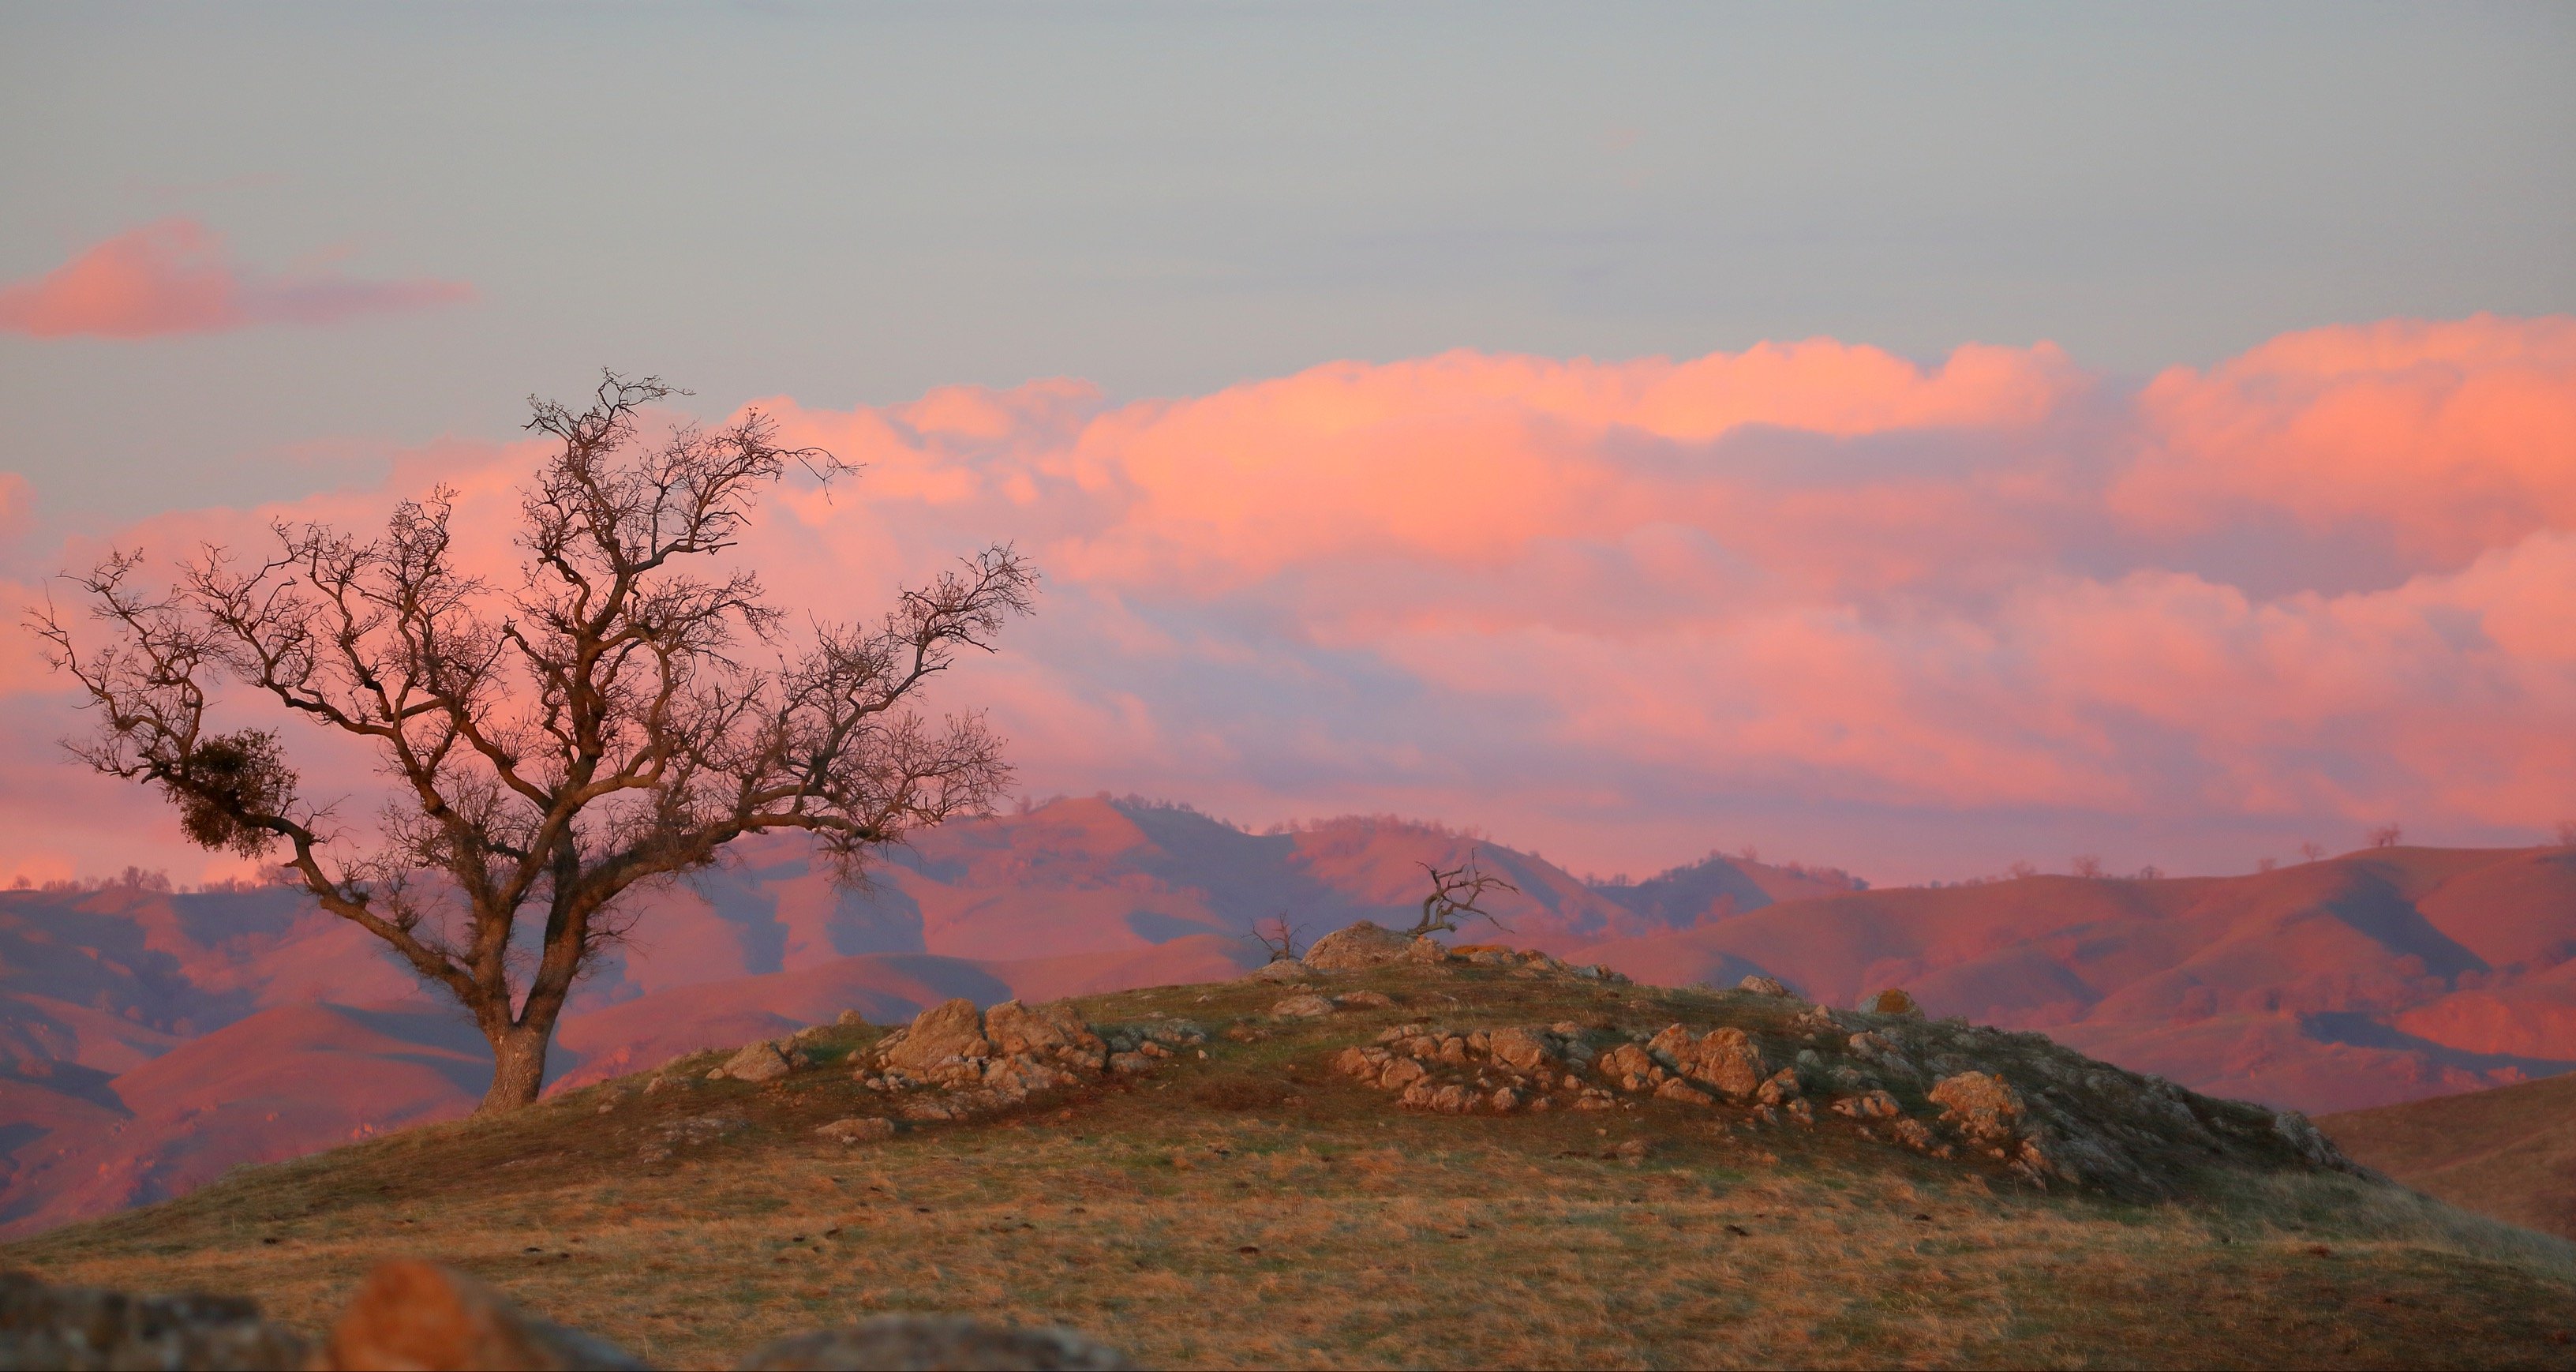
Sunset at Sierra Vista Open Space Preserve, David Mauk
12. Stand still...
A lot of wildlife photography is about patience. Be willing to sit in the same place for 15-20 minutes to wait and see what comes. Animals will often hear you approach, which may disrupt things, so the longer you can be still, the more likely you are to see them return to their day, or “act natural,” so to speak.
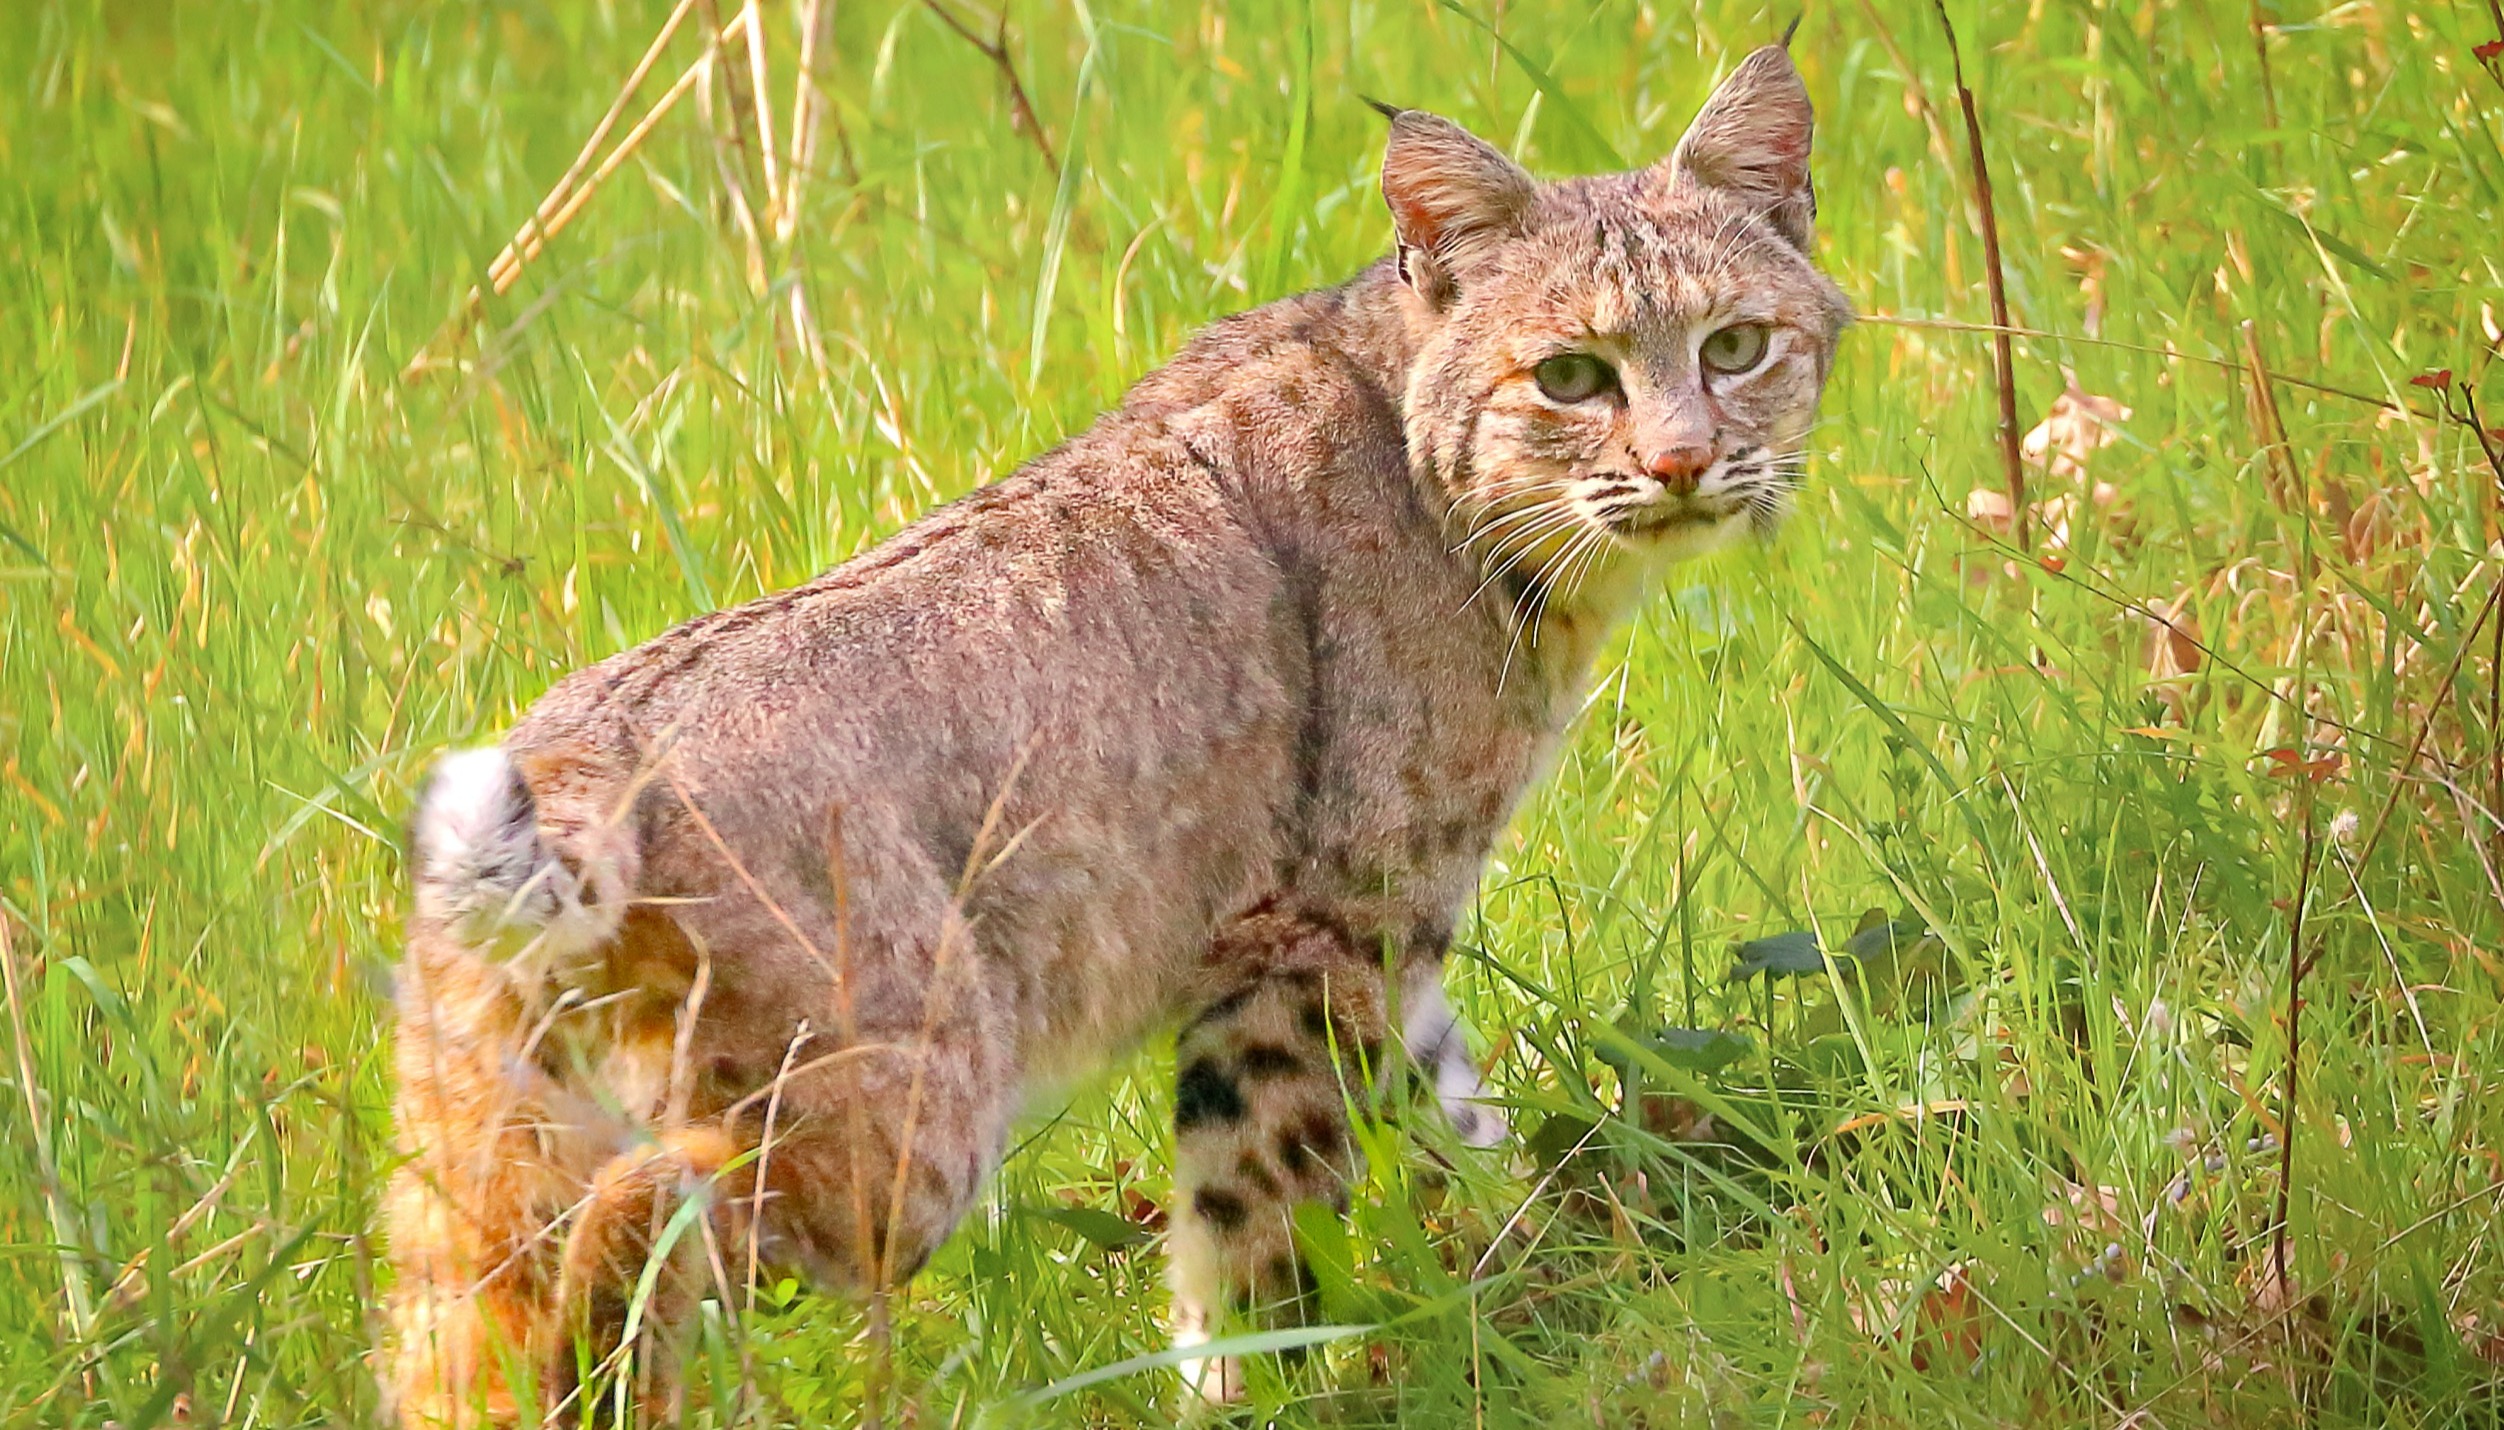
Bobcat, David Mauk
13. ...but also move around.
When you go out, look for different places with different scenery and wildlife. You may have one place in mind when you go out (and definitely go there), but be willing to wander and explore, because you may find a new place that inspires you even more. And when you find a spot you like, move around to see how even the same scene looks different from slightly different positions!
14. Put the light in front of the subject...
Having light on the subject is a great way to capture small details and vibrant colors. Put yourself between the subject and the sun and you can capture some breathtaking photos.
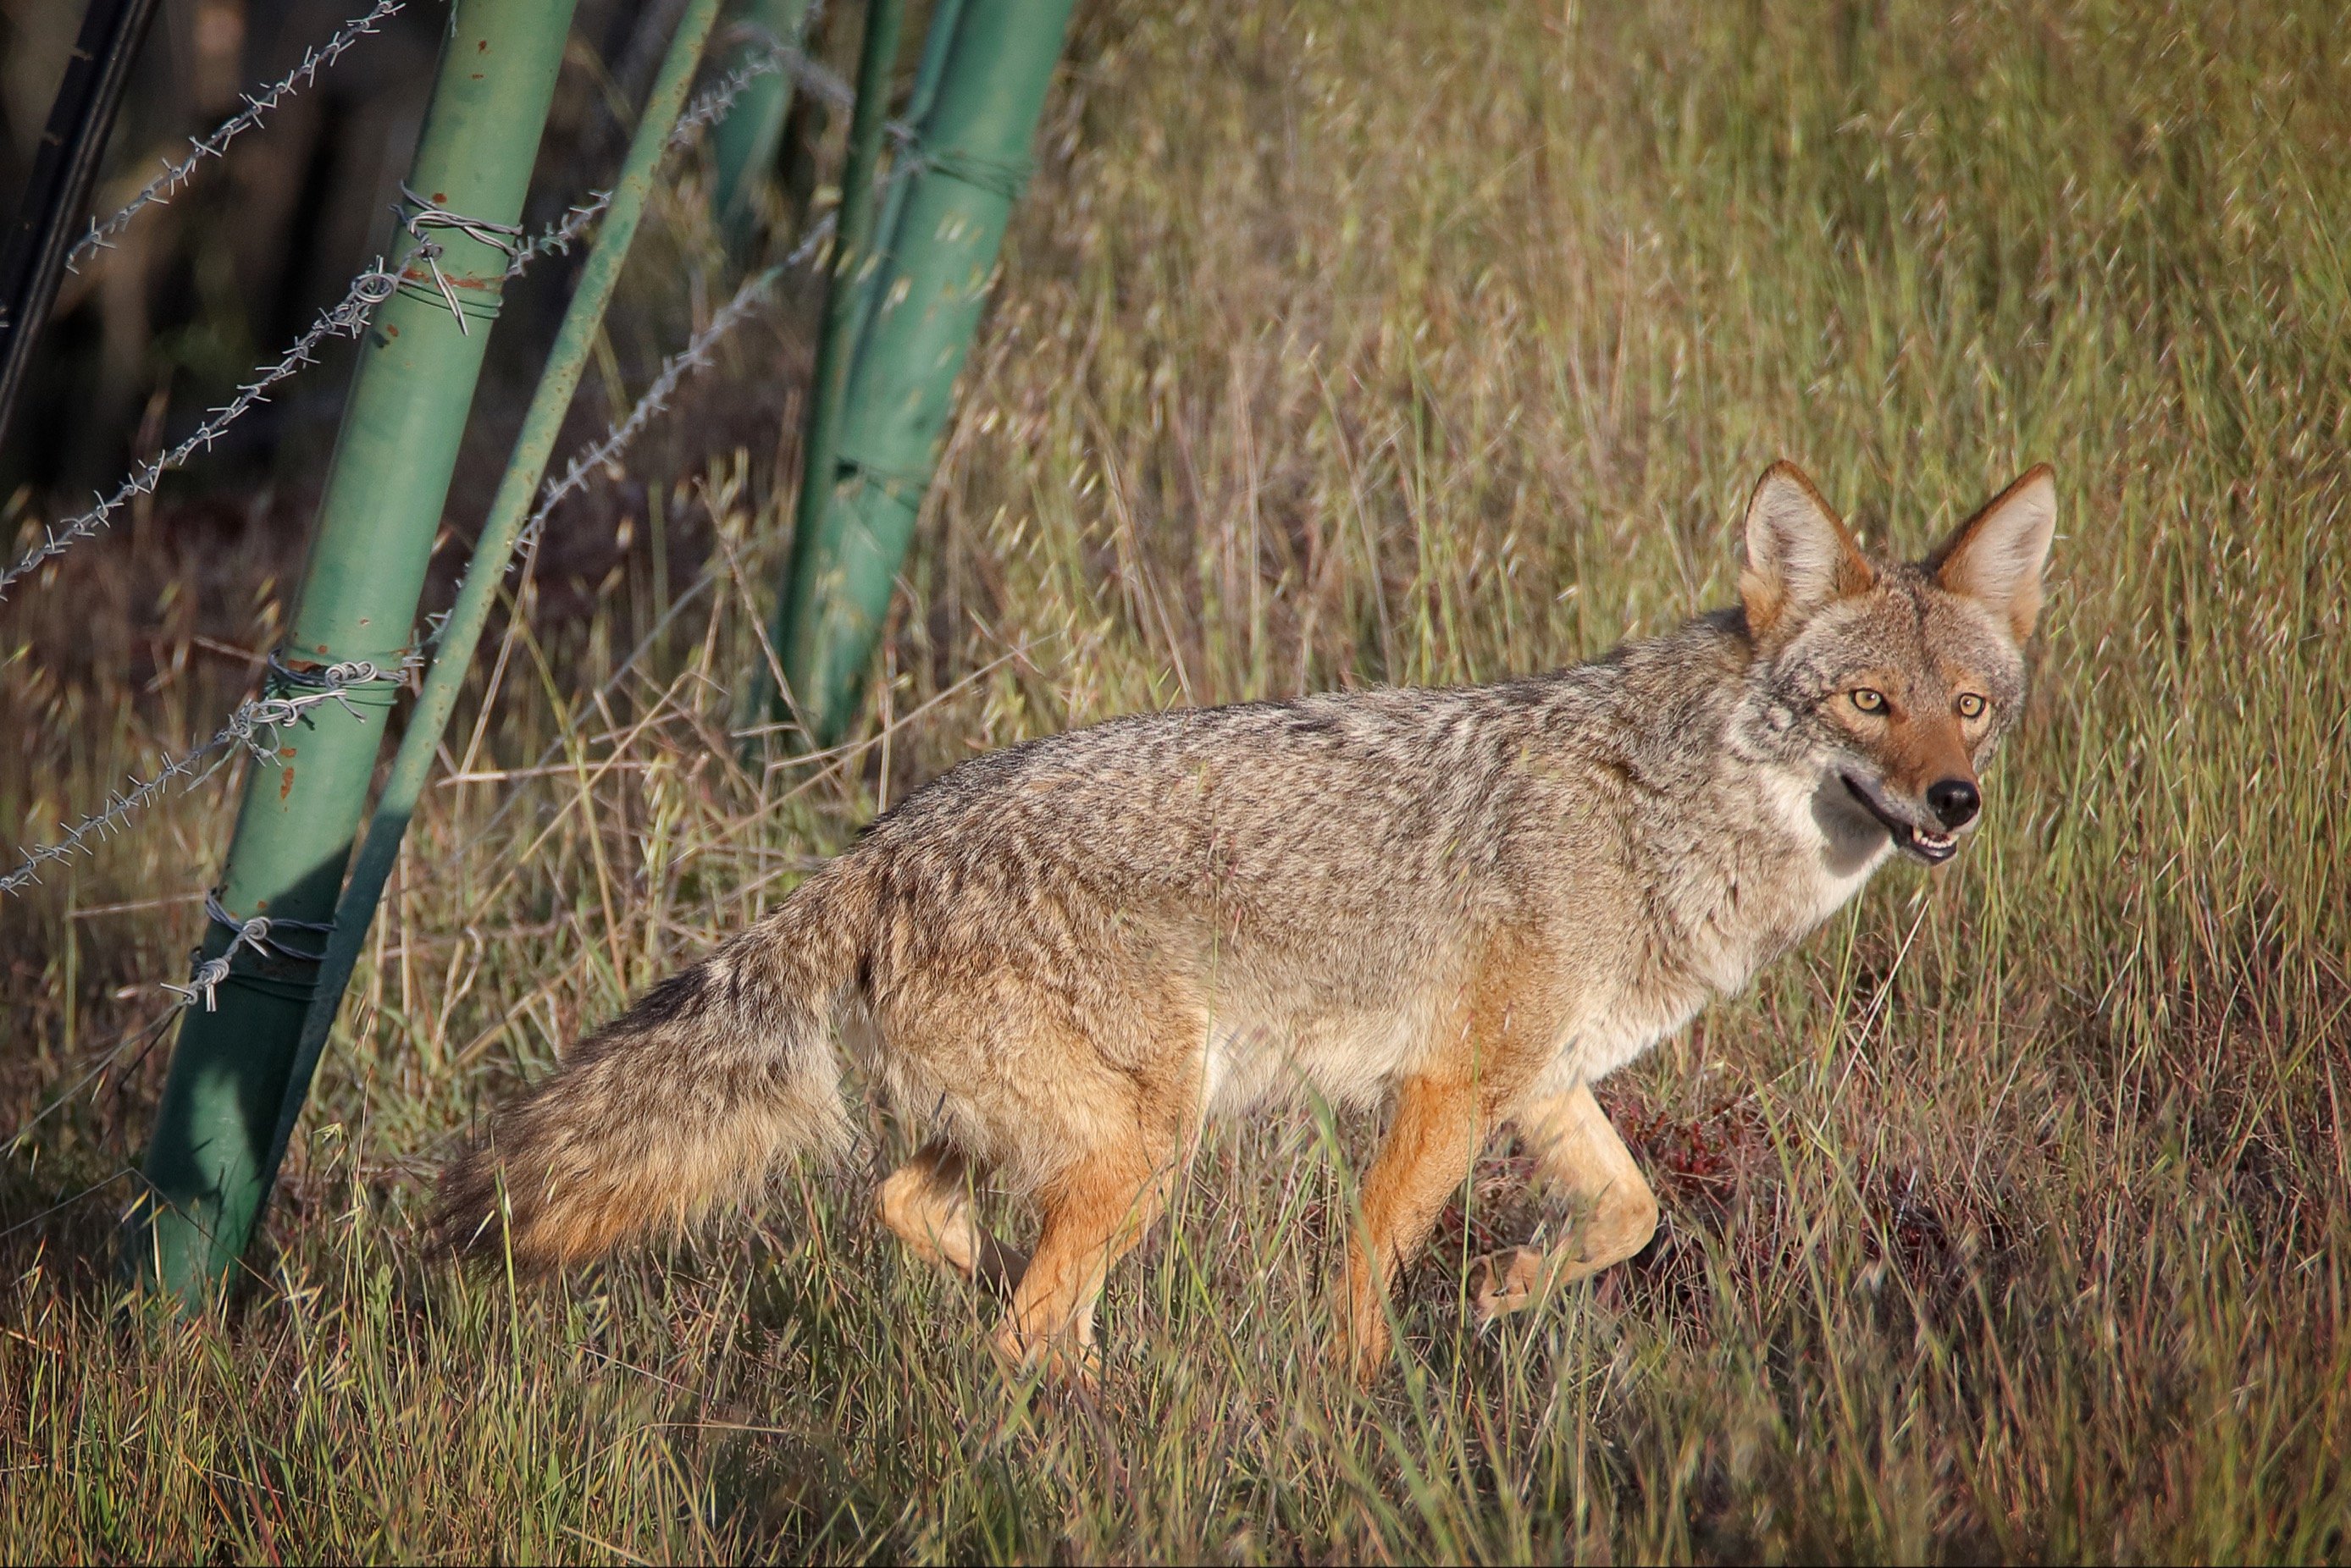
Coyote, David Mauk
15. …but also the subject in front of the light.
Put the subject between yourself and the light to create some interesting silhouettes and watch the subject glow. This technique can create interesting imagery and be a chance to experiment creatively.
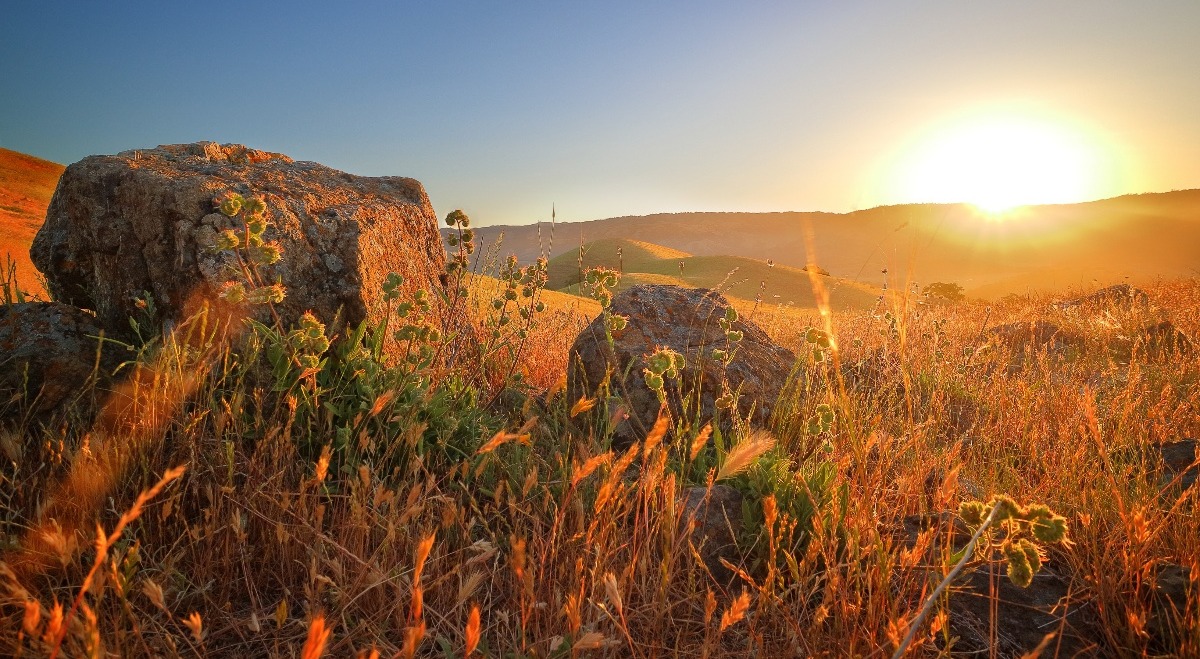
Coyote Ridge Open Space Preserve, David Mauk
16. Be okay seeing things without getting a photo.
Let’s face it – you won’t always get the shot, and that’s okay! Sometimes the best part of nature photography is getting out there and seeing things with just your eyes – it has to start that way anyway!
17. Have fun!
Finally – enjoy yourself! The minute you stop having a good time is the minute you should head home. Don’t worry about getting the perfect shot and don’t worry about missing anything. One of the most beautiful things about nature photography is that it gets you outside, so just have a good time with it.
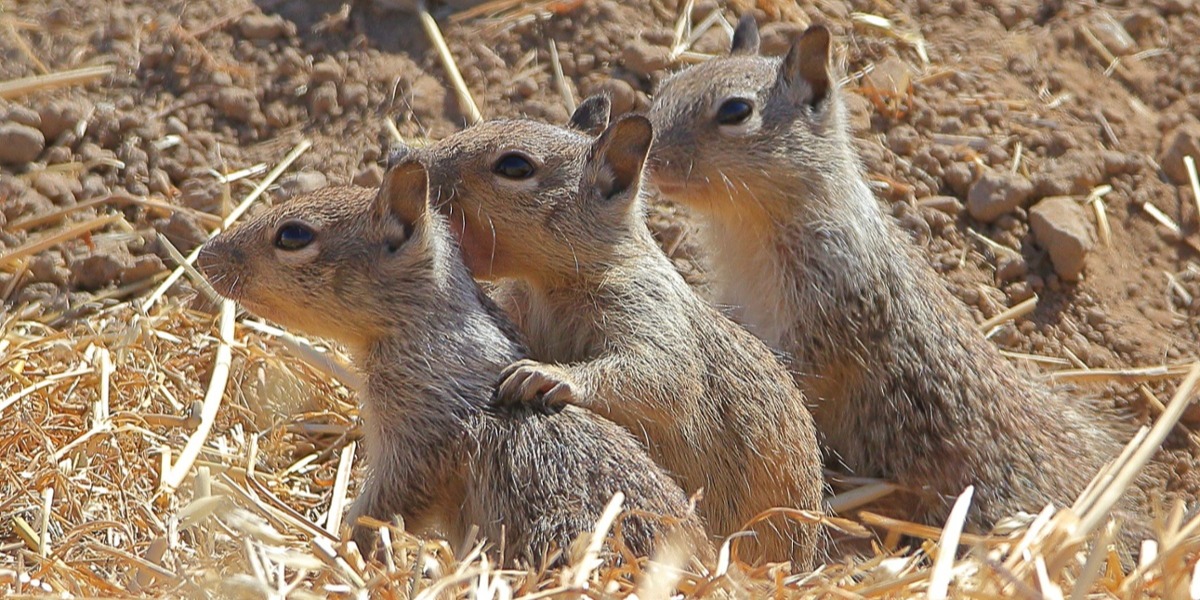
Baby ground squirrels, David Mauk
